The Correct Sequence to Decorate a Room: A Step-by-Step Guide

Room Decorating Sequence Planner
Follow the proven hierarchy of interior design decisions. Click each step as you complete it to track your progress and unlock expert tips.
Expert Tip
Have you ever bought a beautiful sofa only to realize it blocks the natural light or doesn't fit through the doorway? Or maybe you painted your walls a stunning shade of blue, only to find that your new rug clashes horribly with the hue. It happens to the best of us. Decorating a room feels intuitive until you start spending money on items in the wrong order. The result is often a space that feels disjointed, expensive, and stressful.
The secret to a cohesive home isn't just having good taste; it's following a logical progression. Think of decorating like building a house. You wouldn't install the fixtures before pouring the foundation, right? Interior design works the same way. There is a specific hierarchy of decisions that saves you time, prevents costly mistakes, and ensures every piece you buy actually belongs together.
Key Takeaways
- Start with structure: Measure your space and define the layout before buying anything.
- Big items first: Invest in large furniture (sofas, beds) before small accessories.
- Color follows form: Choose paint colors after selecting your major furniture pieces to ensure harmony.
- Lighting layers last: Install functional lighting early, but add decorative lamps at the end.
- Personalize finally: Add art, books, and sentimental objects only when the room is structurally complete.
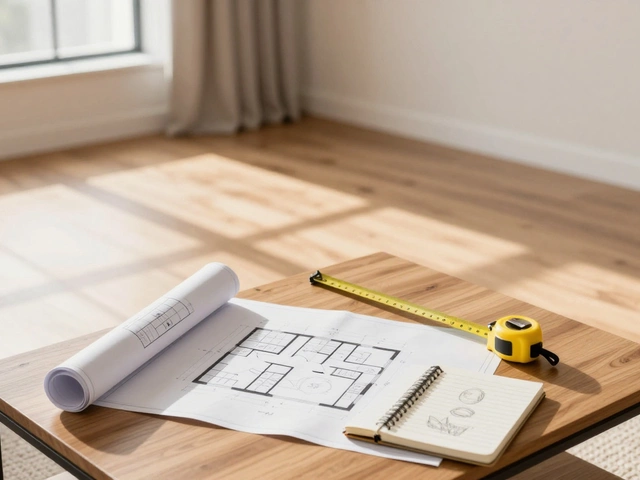
Step 1: Define the Purpose and Measure the Space
Before you browse any catalog or visit a store, you need to understand what the room is actually for. A living room is a multi-functional space that serves as a hub for relaxation, entertainment, and socializing. But is yours primarily for watching TV, hosting dinner parties, or providing a quiet reading nook? The answer dictates everything else.
If you plan to host guests frequently, you’ll need more seating and perhaps a larger coffee table. If it’s a family room with kids, durability becomes your top priority over delicate aesthetics. Once you’ve defined the function, grab a tape measure. Don’t guess. Measure the width and length of the room, noting the placement of windows, doors, radiators, and outlets. Sketch a simple floor plan. This step prevents the nightmare of ordering a sectional that leaves no room to walk past it.
Step 2: Select Large Furniture First
This is the most critical step where most people go wrong. They pick a rug because they love the pattern, then try to fit their furniture around it. Instead, anchor your room with its largest pieces. These are your statement pieces which are large furniture items that define the scale and style of the room.
In a living room, this usually means the sofa, armchairs, and perhaps a media console. In a bedroom, it’s the bed frame and nightstands. When choosing these items, consider the flow of traffic. Leave at least 30 inches of clearance for main walkways. Ensure there’s enough space between the sofa and the coffee table (about 14-18 inches) so you can comfortably reach a drink without stretching.
Why do big items come first? Because they are the hardest to move and replace. A sofa costs significantly more than a throw pillow, and if it doesn’t work, the entire room fails. Stick to neutral tones for these large investments if you’re unsure. It makes swapping out smaller accents later much easier.
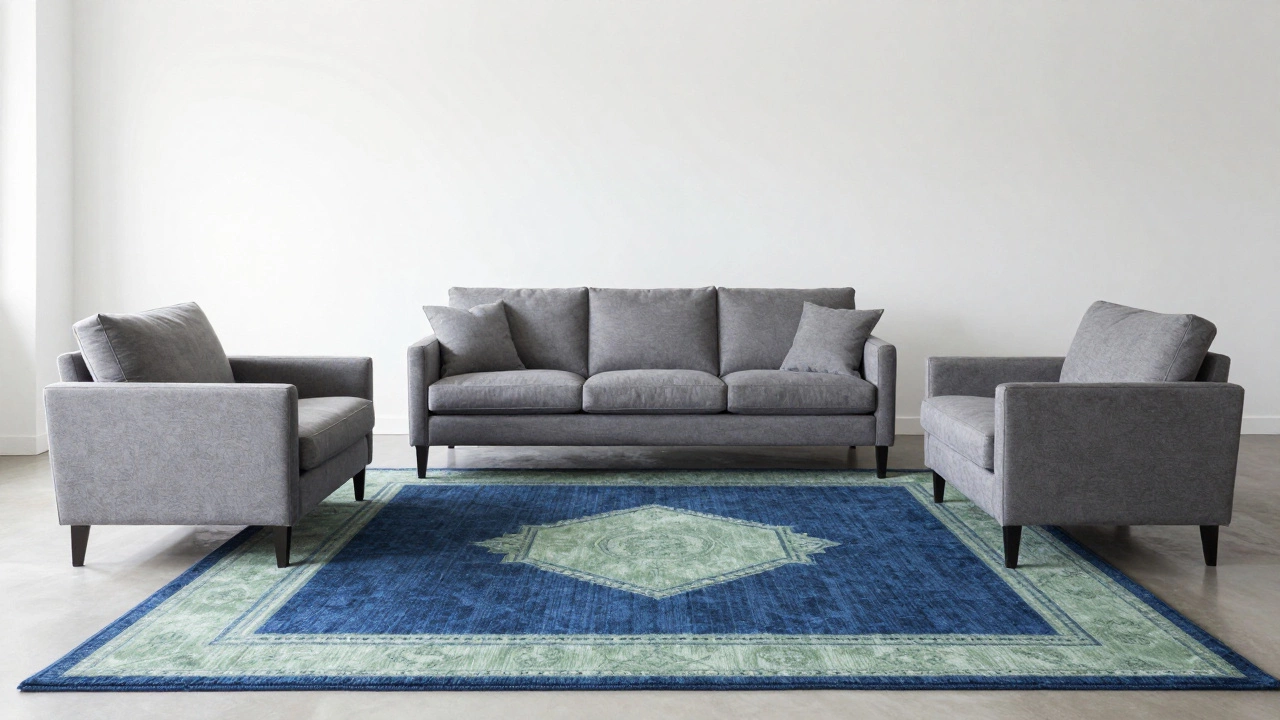
Step 3: Layer the Flooring and Rugs
Once your major furniture is planned or purchased, look down. Hardwood floors are beautiful, but they echo noise and offer no comfort underfoot. Carpets are cozy but hard to clean. The middle ground is a quality area rug. However, timing matters here. You should choose your rug after selecting your large furniture but before painting your walls.
Here’s why: Rugs have complex patterns and multiple colors. Paint stores can match almost any color swatch from a rug to create wall paint. The reverse is nearly impossible. If you paint first, you might struggle to find a rug that complements that specific shade of sage green. Also, ensure your rug is large enough. All front legs of your seating furniture should rest on the rug. Small, floating rugs make a room look cheap and disjointed.
Step 4: Determine Wall Color and Treatments
Now that your furniture and rug are set, you can finalize the walls. Paint is the cheapest way to transform a room, but it also sets the mood. Use the colors already present in your rug and upholstery to guide your choice. Pull out a secondary color from your fabric rather than the dominant one for a more sophisticated look.
Consider the lighting conditions. North-facing rooms benefit from warm whites or soft yellows to counteract cool light. South-facing rooms can handle deeper blues or greens. Don’t forget about window treatments. Curtains should be hung high-close to the ceiling-to draw the eye up and make the room feel taller. They should also touch the floor, not hover above it.
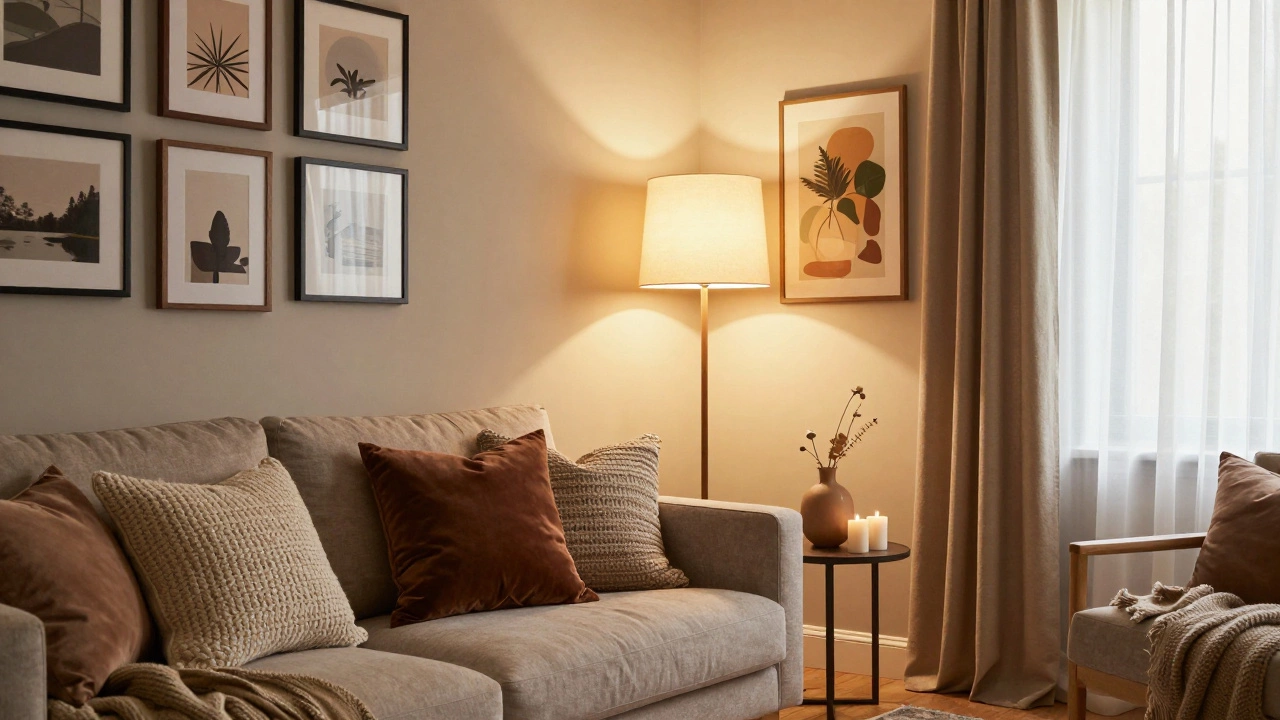
Step 5: Plan the Lighting Layers
Lighting is often an afterthought, yet it changes how all other elements look. A dimly lit room hides flaws; a harshly lit one exposes them. Aim for three layers of light:
- Ambient Light: General illumination from ceiling fixtures or recessed lights.
- Task Light: Focused light for activities, like a reading lamp next to the armchair or under-cabinet lights in a kitchen.
- Accent Light: Decorative lighting that highlights art or architectural features, such as sconces or LED strips.
Install hardwired fixtures early in the process since they require electrical work. Save the portable lamps for later. Make sure your switches are accessible. If your only light source is a single overhead bulb, the room will feel flat. Mix warm and cool tones to create depth.
Step 6: Add Soft Furnishings and Textiles
With the hard structures in place, it’s time to bring in comfort. This includes throw pillows, blankets, and cushions. These items are inexpensive and easy to change, making them perfect for adding seasonal flair or updating the color scheme without buying new furniture.
Mix textures to add visual interest. Pair a smooth leather sofa with chunky knit throws and velvet pillows. The contrast prevents the room from looking too flat. Remember the rule of odd numbers: grouping pillows in threes looks more natural and inviting than pairs.
Step 7: Personalize with Art and Accessories
This is the final step where you inject personality into the space. Hang artwork, place books on shelves, and display sentimental objects. Art should be hung at eye level, typically 57 inches from the floor to the center of the piece. Don’t overcrowd walls; leave some breathing room.
Accessories like vases, candles, and trays should complement, not compete with, the furniture. Keep surfaces relatively clear. Too many knick-knacks create visual clutter. Step back and assess the room. Does it feel balanced? If something feels off, remove an item rather than adding another. Sometimes less truly is more.
| Common Mistake | Why It Fails | Best Practice |
|---|---|---|
| Buying decor before furniture | Items don't match scale or style | Purchase large furniture first |
| Painting walls before choosing rug | Hard to coordinate colors later | Select rug, then match paint to it |
| Using only overhead lighting | Creates harsh shadows and flatness | Layer ambient, task, and accent lights |
| Hanging curtains low | Makes ceilings look lower | Hang rods near the ceiling line |
Troubleshooting Your Decorating Sequence
Even with the best plan, things can go sideways. Here’s how to fix common issues:
The room feels empty. You likely skipped the layering step. Add height with tall plants or floor lamps. Fill vertical space with bookshelves or gallery walls. Empty walls scream "unfinished."
The colors clash. Go back to your rug and upholstery. Identify the dominant color and use it for 60% of the room, a secondary color for 30%, and an accent color for 10%. This 60-30-10 rule keeps balance.
It’s too dark. Check your window treatments. Sheer curtains let in more light than heavy drapes. Add mirrors opposite windows to reflect natural light deeper into the room.
Should I buy furniture before or after painting?
You should select your major furniture pieces before painting. This allows you to choose paint colors that complement your upholstery and wood tones. Painting first limits your options and may result in a mismatched look.
How long does it take to fully decorate a room?
For most homeowners, decorating a single room takes between two weeks and two months. This depends on delivery times for custom furniture and whether you’re doing DIY painting. Rushing leads to poor choices.
Can I decorate a room on a budget?
Yes. Prioritize spending on large items like sofas and mattresses. Save money on accessories like pillows, art frames, and lamps. Thrift stores and online marketplaces are great sources for unique, affordable decor.
What is the first thing to buy when furnishing a new home?
The first items to buy are your beds and mattresses. Sleep is essential for well-being. Next, prioritize kitchen essentials and living room seating. Decorative items can wait until the basics are in place.
Do I need an interior designer to follow this sequence?
No. This sequence is based on fundamental design principles anyone can follow. An interior designer helps with sourcing and styling, but the logical order of operations remains the same for DIYers.