Dry Fit Kitchen Guide – Quick, Easy & Affordable Installation Tips
Thinking about a kitchen makeover but scared of big demolition? A dry fit kitchen might be the answer. It means you install cabinets, worktops and appliances without cutting into walls or floors. Everything sits on the existing structure, so you avoid messy plaster work and can finish in days, not weeks.
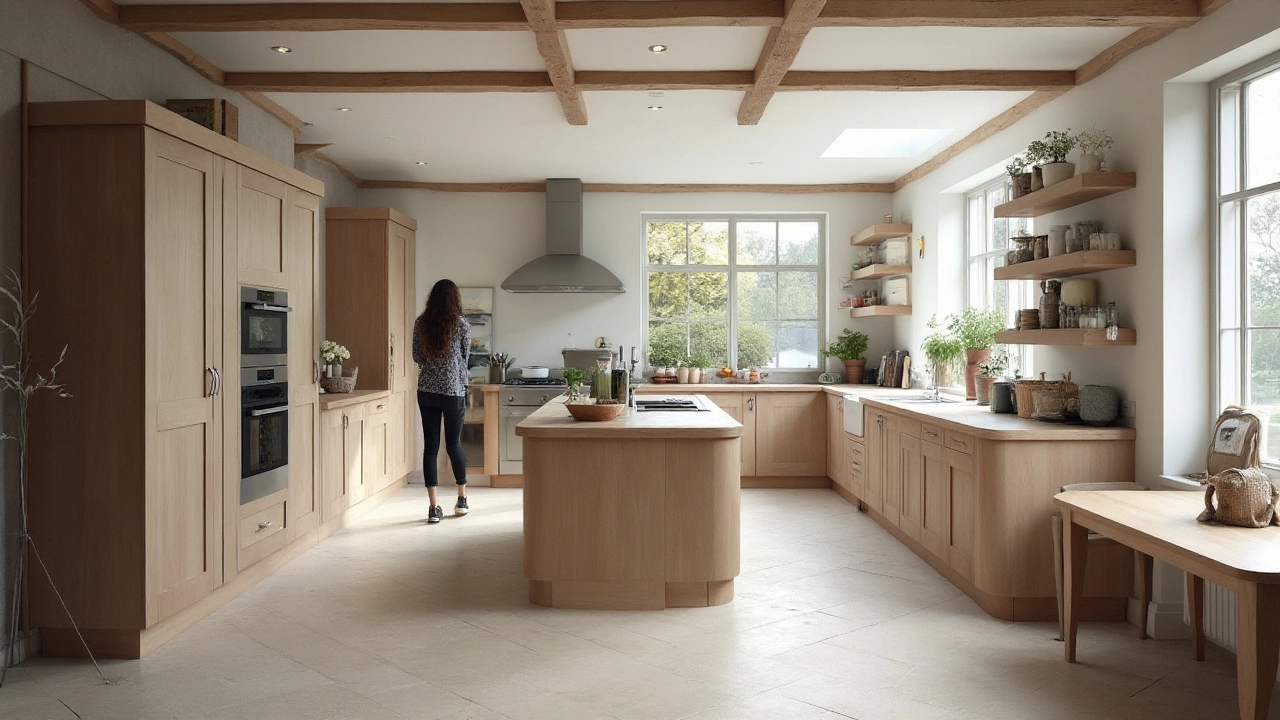
What is Dry Fit Kitchen Installation?
In a dry fit kitchen, all the major pieces are pre‑measured and pre‑drilled off‑site. The installer simply lines them up, screws them into place, and connects the plumbing and electrics. Because the units sit on the floor and against the wall, you don’t need to embed them into the structure. This reduces labour costs and makes it easier to change the layout later.
Dry fit works best in homes where the existing walls are straight and the floor is level. If your kitchen has uneven surfaces, you may need a quick levelling job first. The key is to keep the surface as flat as possible so the cabinets sit level and look tidy.
Tips for a Successful Dry Fit Kitchen
1. Plan your layout carefully. Sketch the floor plan, mark where the sink, stove and fridge will go. Use online tools or a simple graph paper. Make sure there’s enough clearance for doors to open fully.
2. Measure twice, order once. Double‑check the width of windows, doors and any protruding pipes. Order cabinets with a small margin of error; it’s cheaper to adjust a cabinet than to return it.
3. Choose the right worktop material. Laminate and engineered stone are popular for dry fit because they’re lightweight and can be cut to size on site. Avoid heavy stone that needs extra support.
4. Prep the walls and floor. Clean dust, level any bumps, and apply a thin coat of primer if the walls are dusty. A smooth surface helps the cabinets sit flush.
5. Use a level and a laser line. Align the first cabinet with a laser line; it becomes the reference for all other units. Check each cabinet with a spirit level before fixing it.
6. Secure cabinets to wall studs. Find the studs with a stud finder and drill directly into them. This gives the cabinets solid support and prevents wobbling.
7. Leave space for expansion. Wood worktops expand with humidity. Leave a small gap (about 2mm) at the ends to allow movement.
8. Connect the services neatly. Run the water and electricity behind the cabinets where possible. Use flexible hoses and clips to keep everything tidy.
9. Finish with trim. Apply splashbacks, skirting boards and edge profiles to hide any gaps. This gives the kitchen a polished look without extra work.
10. Test everything before you seal. Turn on the water, check the stove, and make sure the fridge sits level. Fix any issues now; it’s much harder after you’ve sealed the joints.
By following these steps, you can get a modern, functional kitchen without the hassle of a full rebuild. Dry fit kitchens are especially handy for renters, small remodels, or anyone who wants a fresh look fast. Ready to start? Grab a tape measure, sketch your dream layout, and let the dry fit adventure begin.