What Order Should You Renovate a Bathroom? Step-by-Step Guide
Bathroom Renovation Order Checker
Check Your Renovation Order
Select your renovation steps in the order you plan to do them. The tool will tell you if you're following the recommended sequence.
Renovating a bathroom can feel overwhelming. You want it to look great, work well, and not turn into a months-long nightmare. The biggest mistake people make? Jumping into demo before they know what comes next. The order you tackle each part of the renovation makes all the difference. Do it wrong, and you’ll be redoing work. Do it right, and you’ll save time, money, and stress.
Start with Planning and Permits
Before you pick up a hammer, you need a plan. Not just a Pinterest board - a real plan. Sketch out where you want the toilet, shower, sink, and storage. Think about plumbing, electrical, and ventilation. If you’re moving any of these, you’ll need permits. Most cities require permits for plumbing changes, electrical work, or structural modifications. Skipping this step might seem faster, but it can kill your resale value or even get you fined. Check with your local building department. Some places let you file online. Others require an in-person review. Get this done before you remove a single tile.
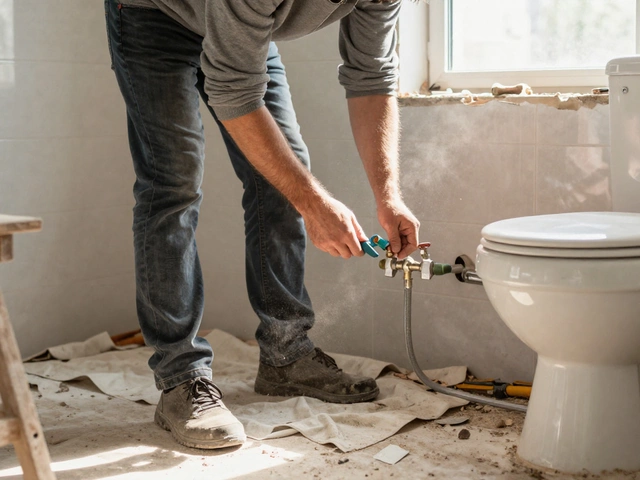
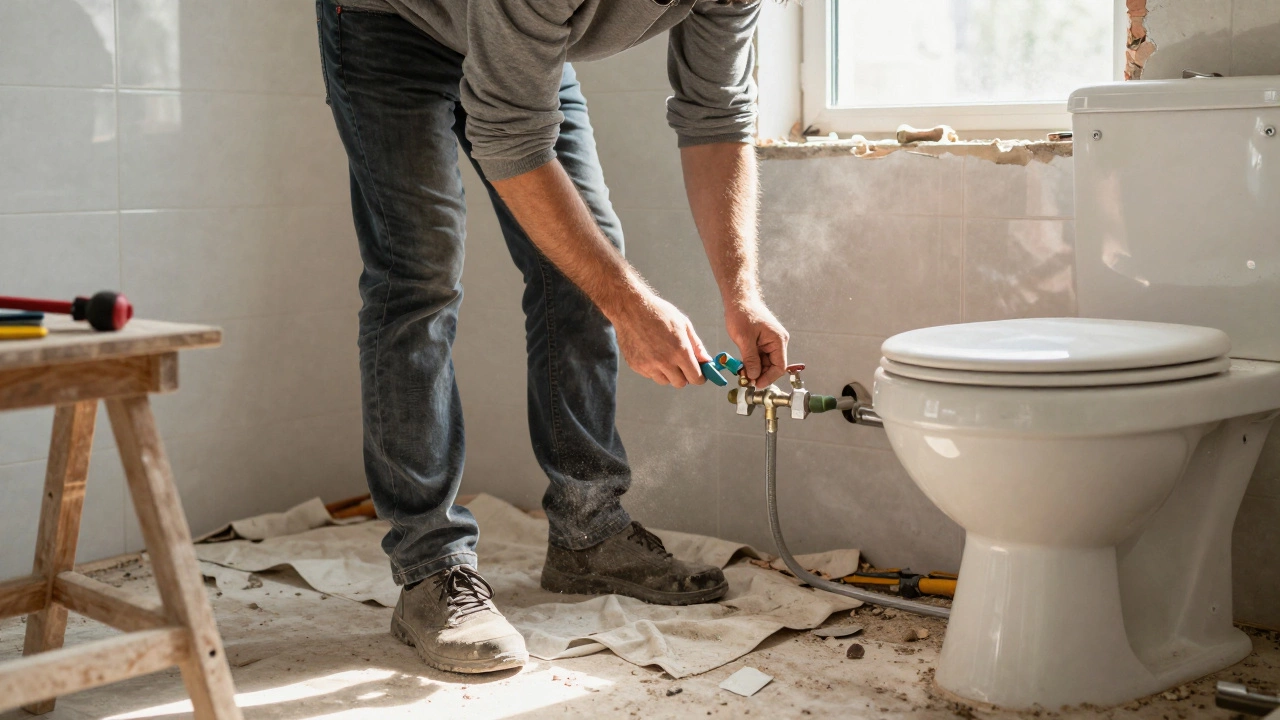
Remove Everything - But Carefully
Now you’re ready to demo. Start by shutting off the water and electricity to the bathroom. Cover the floor with drop cloths. Remove the toilet first - it’s heavy, messy, and gets in the way of everything else. Next, take out the sink, vanity, and mirror. Then remove the shower or tub. If you’re keeping the existing layout, you can leave the walls and floor intact. But if you’re moving plumbing, you’ll need to open up the walls and floor. Be careful with pipes and wires. You don’t want to cut into a water line by accident. Keep all the old fixtures, tiles, and pipes in case you need to match them later. You’ll be surprised how hard it is to find a 10-year-old faucet.
Fix the Structure - Walls, Floor, and Ceiling
This is where most people rush and regret it. Once the old stuff is gone, inspect what’s underneath. Is the subfloor rotten? Are the wall studs warped? Is there mold behind the tiles? Fix all of it. Replace damaged wood. Treat mold with a professional-grade cleaner. Install new moisture-resistant drywall if you’re in a wet zone. This is also the time to add insulation if you didn’t have any. A well-insulated bathroom stays warmer and cuts down on condensation. Don’t skip this. Skipping it now means you’ll be ripping out new tile in a year because the floor is sinking or the walls are peeling.
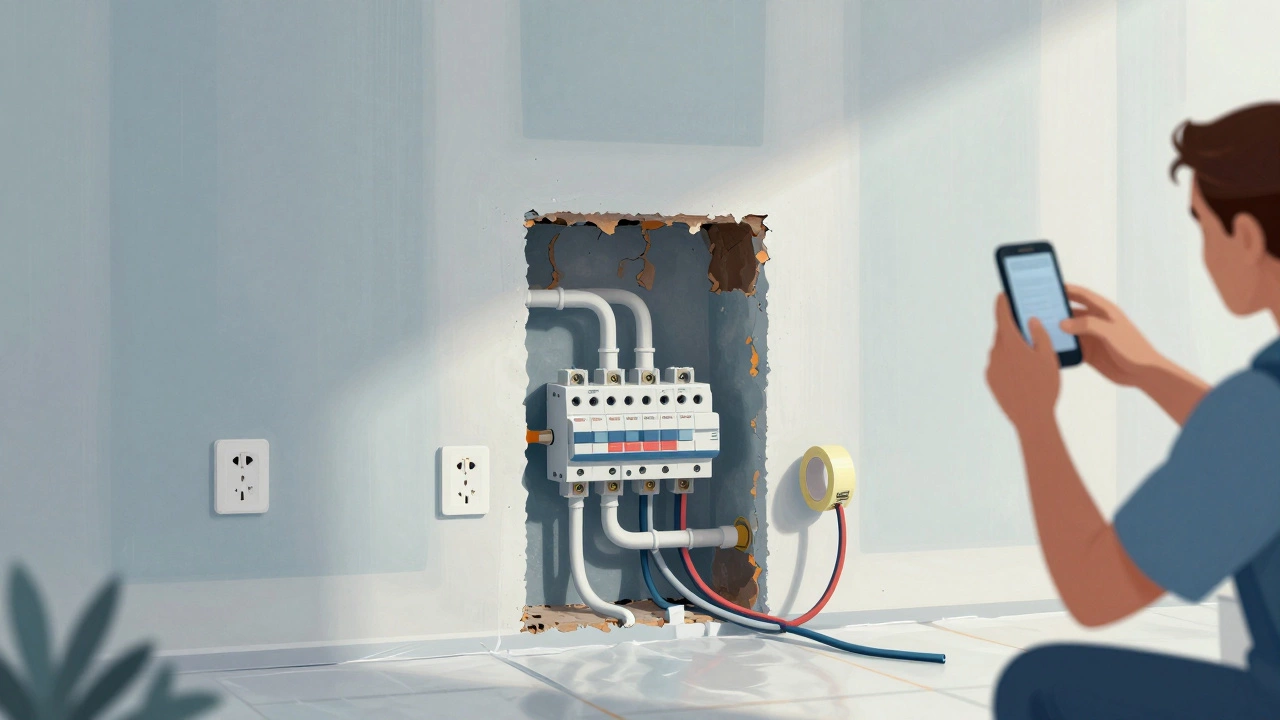
Install New Plumbing and Electrical
Now that the walls are open, this is your last chance to run new pipes and wires. If you’re moving the shower, relocate the drain. If you want a new light or heated floor, run the cables now. Use PEX for plumbing - it’s flexible, easy to install, and less likely to leak than copper. For electrical, use waterproof outlets and GFCI protection near sinks and tubs. Label every pipe and wire as you go. Take photos before you cover everything up. You’ll thank yourself later when you need to fix a leak or add a new outlet.
Put in the Flooring
Tile or vinyl? The choice matters. Tile lasts longer but needs a perfectly level subfloor. Vinyl plank is easier to install and forgiving if the floor isn’t perfect. Either way, install the flooring before the walls. Why? Because you can lay it all the way to the edge without worrying about damaging it while installing cabinets or tubs. Use a moisture barrier under tile. Even if the subfloor is new, water can seep through grout over time. Let the adhesive cure fully before moving on. Rushing this step causes cracks and loose tiles.
Hang the Walls and Ceiling
Now it’s time to finish the drywall. Tape, mud, and sand the seams until they’re smooth. Prime and paint the walls. Use a bathroom-specific paint with mildew resistance. Don’t forget the ceiling - it’s often overlooked, but steam rises. A semi-gloss finish holds up better than flat paint. If you’re adding a ceiling fan or vent, install it now. Make sure it vents to the outside, not into the attic. A poorly vented bathroom invites mold.
Install Fixtures - Toilet, Sink, Tub, Shower
Next come the big fixtures. Install the tub or shower pan first. Then the vanity and sink. After that, the toilet. Finally, the mirror and lighting. Each piece should be secured properly. Use silicone sealant around the tub and sink edges - not caulk. Silicone lasts longer and resists mold. Make sure the toilet is bolted to the floor flange. A wobbly toilet leaks. Test every connection. Turn the water on slowly. Watch for drips. Fix them before you cover anything up.
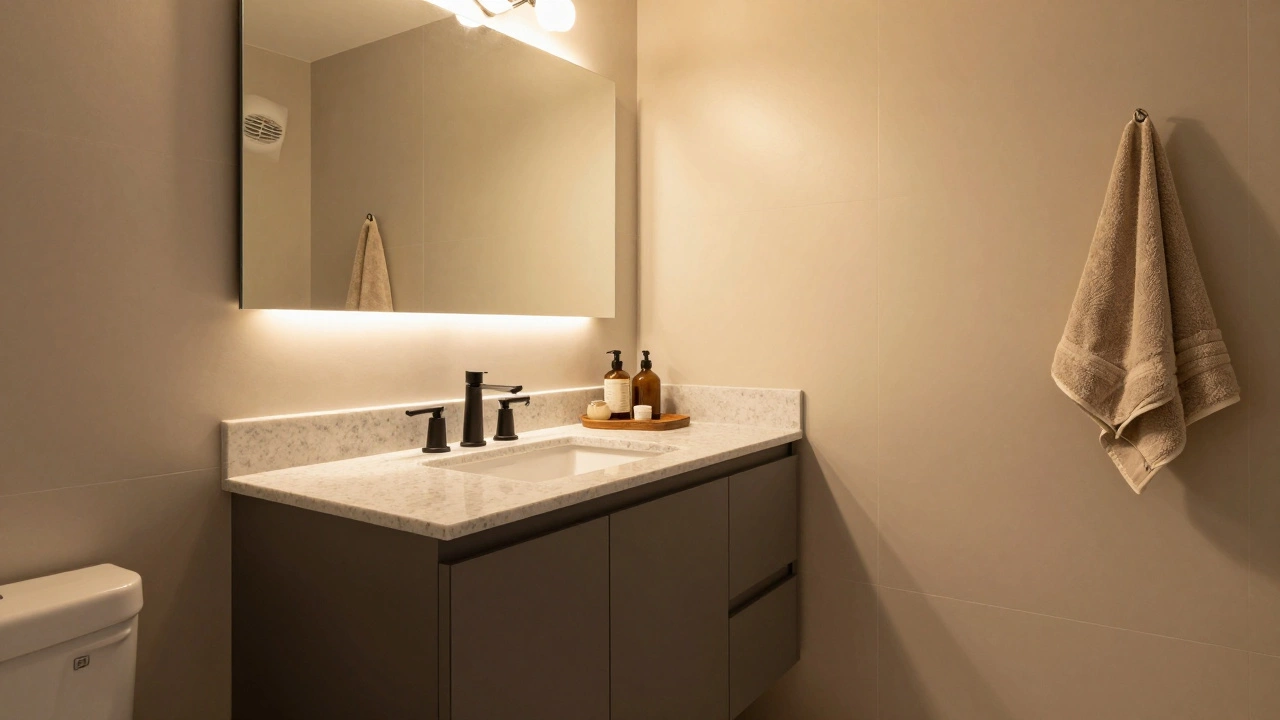
Add Finishing Touches - Lighting, Mirrors, Storage
Now you’re in the home stretch. Install the mirror, towel bars, and toilet paper holder. Choose LED lighting - it’s energy-efficient and gives better color rendering. Add storage: medicine cabinets, floating shelves, or a linen closet. Make sure everything is level. Don’t forget the door handle and hardware. These small details make the space feel polished. Test the exhaust fan. Run it for 15 minutes. If it’s noisy or doesn’t clear steam, you might need to upgrade it.
Final Clean and Inspection
Do a deep clean. Remove all dust, construction debris, and leftover adhesive. Wipe down every surface. Check the grout lines. Seal them if needed. Test all faucets, drains, and switches. Flush the toilet. Run the shower. Open the door. Does it swing freely? Close it. Does it latch? Walk through like a buyer. If anything feels off, fix it now. Once the furniture and towels go in, it’s too late.
Why This Order Works
This sequence isn’t arbitrary. It follows a simple logic: fix the bones first, then the shell, then the fixtures, then the details. If you install the vanity before the flooring, you’ll have to cut around it - and risk damaging the tile. If you paint before installing the tub, you’ll get paint splatter on it. If you don’t test the plumbing before closing the walls, you’ll have to tear them open again. Every step builds on the last. Skipping or rearranging steps doesn’t save time - it multiplies problems.
Common Mistakes to Avoid
- Buying fixtures before you know the layout - you might end up with a tub that doesn’t fit.
- Using regular drywall in the shower area - it will swell and rot.
- Ignoring ventilation - steam causes long-term damage.
- Not turning off the water before demo - flooding is real and expensive.
- Skipping permits - insurance won’t cover damage from unpermitted work.
How Long Does It Take?
On average, a full bathroom renovation takes 4 to 6 weeks. Simple updates - like swapping the vanity and painting - can be done in a weekend. But if you’re moving plumbing, adding a new window, or expanding the space, expect 8 to 10 weeks. Factor in delivery times for custom tiles or specialty fixtures. Delays happen. Plan for them.
What to Do If You Hit a Problem
Found mold? Call a professional. Don’t try to scrub it yourself - spores spread easily. Plumbing leak? Shut off the water and call a licensed plumber. Electrical issue? Don’t touch it. Hire an electrician. Trying to DIY beyond your skill level can cost more than hiring help. A good contractor can fix mistakes faster than you can fix them yourself.
Should I remove the toilet before the tub?
Yes. The toilet is easier to remove and doesn’t interfere with other work. It’s also lighter and less likely to damage floors or walls during removal. Removing it first gives you more space to work on the tub and plumbing.
Can I install flooring before walls?
Yes, and you should. Installing flooring before wall finishes lets you lay tiles or planks all the way to the edge without worrying about damage from drywall work or cabinet installation. It also makes cleanup easier.
Do I need a permit to replace a bathroom vanity?
It depends. If you’re just swapping out the vanity and keeping the same plumbing layout, many places don’t require a permit. But if you’re moving pipes, changing the drain, or altering electrical (like adding a new outlet), you’ll need one. Always check with your local building office.
How do I know if my subfloor is bad?
Walk across the floor. If it feels spongy, bounces, or makes noise, the subfloor is likely damaged. Look for dark spots, soft patches, or a musty smell. Use a screwdriver to poke at the wood - if it sinks in easily, it’s rotted. Replace it before installing new flooring.
What’s the most expensive part of a bathroom remodel?
Labor and plumbing. Moving pipes, rewiring, and removing old materials takes time and skill. High-end fixtures like walk-in showers or smart toilets add cost too. But the biggest expense is often hidden: fixing water damage, mold, or structural issues that weren’t visible before demo.