In What Order Should You Renovate a House? A Practical Step-by-Step Guide
Renovating a house isn’t just about picking new paint colors or swapping out fixtures. It’s a complex project where the order you do things can save you thousands, avoid major headaches, and keep your family from living in a construction zone for months. Too many people start with the fun stuff-kitchen backsplashes, fancy lighting-and end up regretting it when they realize they didn’t plan for the plumbing, electrical, or structural work that had to be done first. So what’s the real order? Here’s how to tackle it right, based on real projects done in Auckland homes over the last five years.
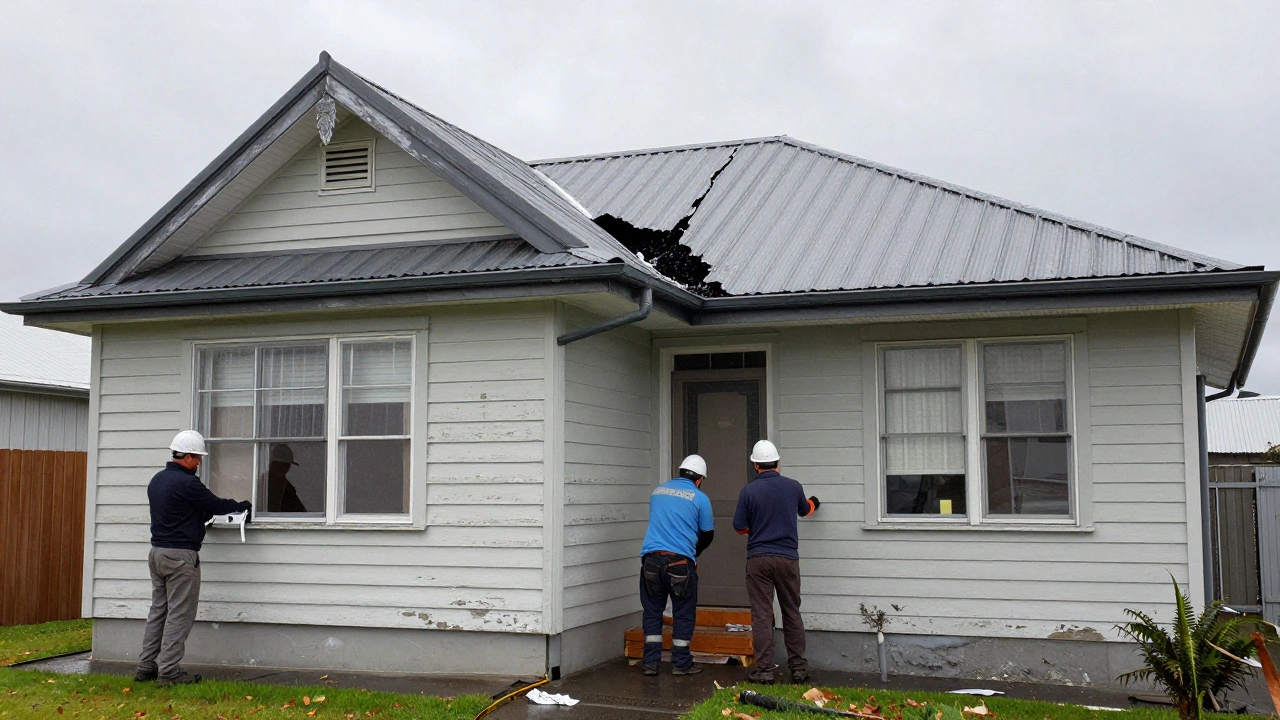
Start with the Roof and Exterior
Before you touch a single interior wall, make sure the outside of your house is solid. A leaking roof, cracked foundation, or failing siding doesn’t just look bad-it invites mold, rot, and pests. If water gets in, everything inside gets ruined. That new kitchen you’re dreaming of? It won’t last if the roof above it is letting rain drip into the ceiling.
Check the roof condition, gutters, downpipes, and exterior cladding. In Auckland’s wet climate, many older homes have issues with flashing around windows and chimneys. Replace or repair these before anything else. If your house has a flat roof or poor drainage, fix that first. You’re not just doing maintenance-you’re protecting every other renovation you plan to do.
Address Structural and Safety Issues
Once the outside is sealed, look inside for structural problems. This includes load-bearing walls, floor joists, and foundation cracks. A sagging floor or bowing wall isn’t just ugly-it’s dangerous. You don’t want to install new flooring only to have it crack again because the joists underneath are weak.
Get a structural engineer to inspect if you’re unsure. Many homeowners skip this step because it feels expensive, but it’s cheaper than rebuilding a room later. In homes built before 1990, especially in earthquake-prone areas like Auckland, seismic strengthening might be required. Don’t delay this. It’s not optional.
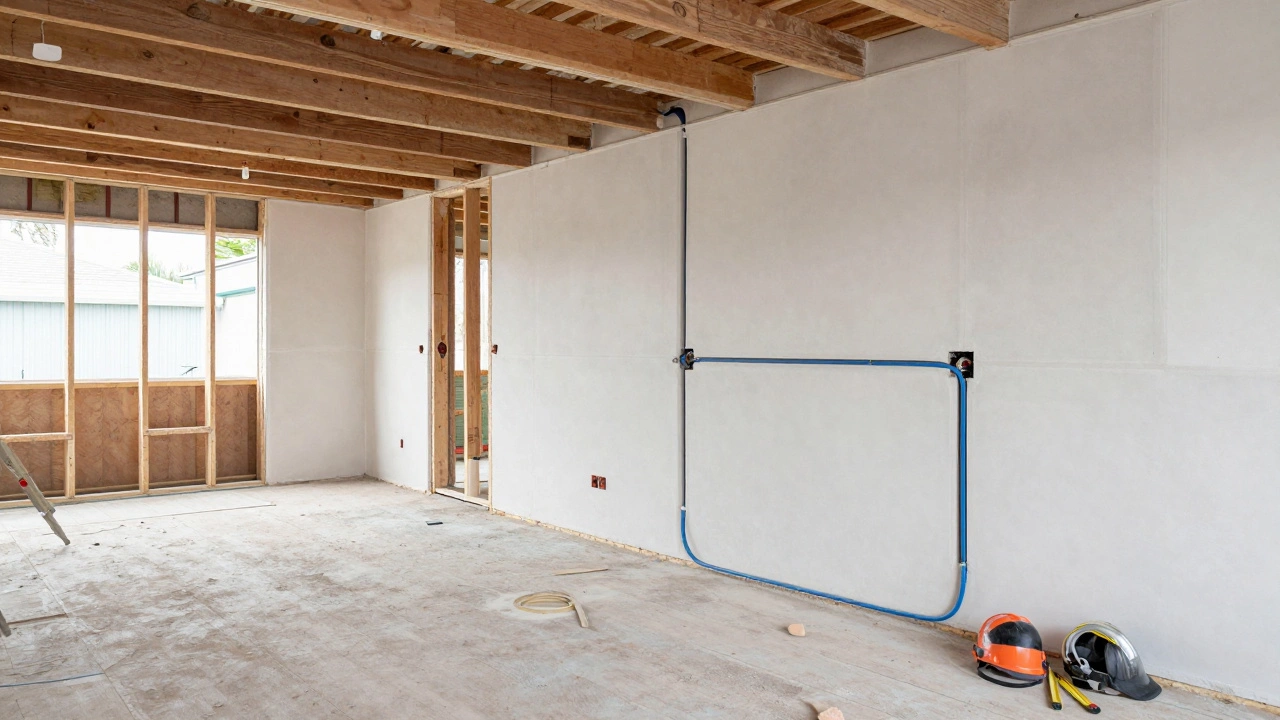
Update Plumbing and Electrical Systems
This is where most renovations go wrong. People think they can just add a new bathroom or kitchen without touching the pipes or wires. That’s a recipe for disaster. Old plumbing leaks. Outdated electrical panels overload. You can’t install modern appliances if your wiring can’t handle the load.
Plan to replace or upgrade all major systems before you start finishes. That means rerouting pipes, adding new circuits, installing a larger hot water tank, and ensuring your main panel meets current codes. If you’re adding a second bathroom or expanding the kitchen, you’ll likely need to rezone the plumbing stack. Do this before drywall goes up. Once the walls are closed, fixing a leaky pipe means tearing everything down again.
Insulate and Seal the Building Envelope
After the structure and systems are updated, focus on energy efficiency. This includes insulation in walls, ceilings, and floors, plus sealing air leaks around windows and doors. In New Zealand, many older homes have little to no insulation. The government’s Healthy Homes Standards require minimum insulation levels, and it’s not just about comfort-it’s about reducing heating costs and preventing condensation.
Install insulation before you put up drywall or flooring. If you’re removing walls, now’s the time to add it. Skip this, and even the fanciest windows won’t keep your house warm. In Auckland’s cool winters, a well-insulated home can cut heating bills by 30% or more.
Install Drywall and Flooring
Now you’re ready for the skeleton of your rooms. Hang drywall, tape, and finish it. Then install flooring. This step often gets rushed, but it’s critical. You want the subfloor perfectly level before laying hardwood or tiles. If you install flooring before fixing structural issues or plumbing, you’re wasting money.
Also, choose flooring that’s durable enough to handle the rest of the renovation. Hardwood or tile is better than carpet at this stage because it’s easier to clean and doesn’t trap dust from construction. If you’re planning to install new carpet later, leave it until the very end.
Do the Kitchen and Bathroom First
These are the two most complex rooms, and they should be done before you touch bedrooms or living areas. Why? Because they involve plumbing, electrical, ventilation, and cabinetry-all of which require precise coordination. If you do your living room before the kitchen, you might end up with dust, debris, and noise from the kitchen renovation ruining your new finishes.
Start with the bathroom that’s used most often. Replace the shower, vanity, and exhaust fan. Make sure the waterproofing is done properly-this is where most leaks happen. For the kitchen, install cabinets, countertops, and appliances. Do the plumbing and electrical connections early, then finish the surfaces. Don’t wait until the last minute to order custom cabinets. Lead times in New Zealand can be 8-12 weeks.
Paint and Finish Walls
Painting should come after flooring and cabinetry but before trim and fixtures. Why? Because you’ll be moving ladders, scaffolding, and tools around. If you paint first, you’ll get drips on new floors and cabinets. Paint the walls after the big equipment is installed but before you add light switches, door handles, and towel racks.
Use a high-quality primer, especially if you’re covering dark colors or patching drywall. Two coats are better than one. In Auckland’s humid climate, choose mold-resistant paint for bathrooms and kitchens. Matte finishes hide imperfections better on walls, while semi-gloss works well on trim and doors.
Install Fixtures, Lighting, and Hardware
This is where your house starts to feel like home. Install light fixtures, faucets, door handles, towel bars, and mirrors. These are the final touches, and they’re easy to damage if done too early. Always install them after painting and cleaning up construction dust.
Buy fixtures that match your style, but don’t go overboard. A $500 faucet won’t make your kitchen better if the cabinets are cheap. Focus on function: good water pressure, easy-to-clean surfaces, and reliable switches. In New Zealand, look for WaterMark-certified plumbing products-they meet local standards.
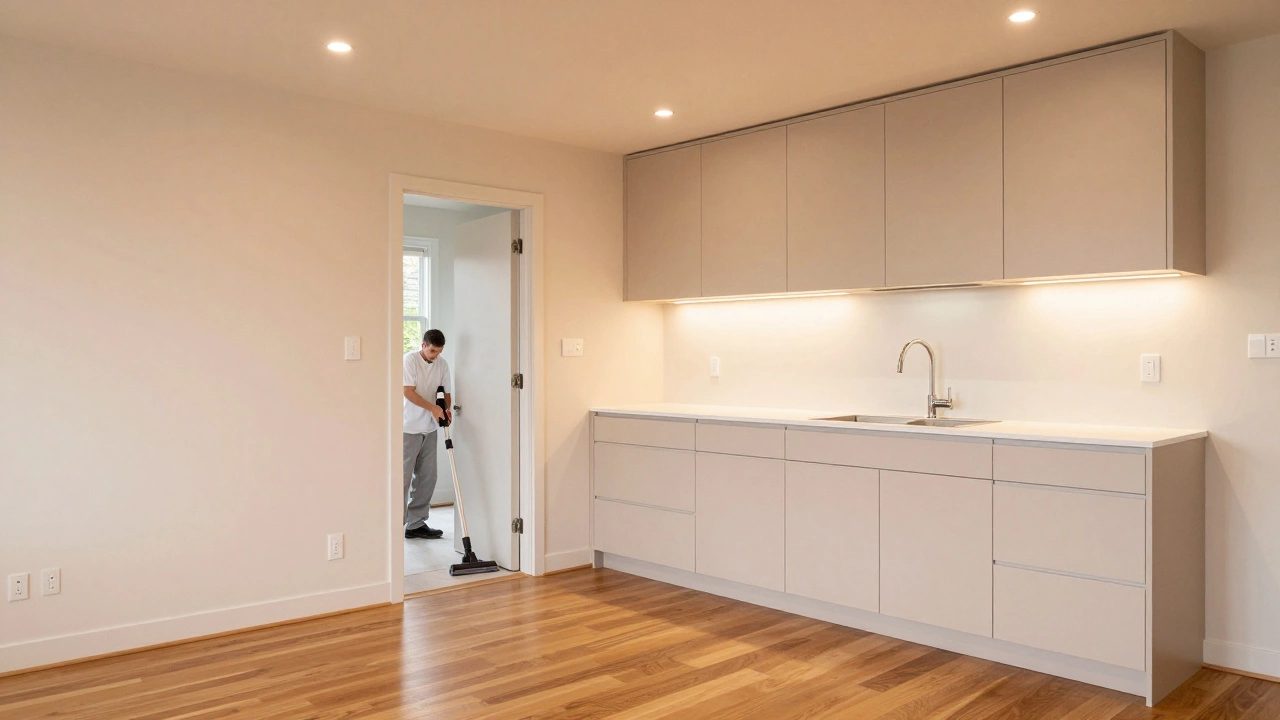
Final Clean and Move Back In
Once everything’s installed, do a deep clean. Vacuum, wipe down surfaces, wash windows, and clean floors. This is your last chance to remove dust from construction. Then, move your furniture back in and enjoy.
Don’t rush this step. Many people move in too soon and end up breathing in drywall dust or tracking mud from unfinished areas. Give it at least 48 hours after the final paint job to air out. Open windows. Use air purifiers. Your lungs will thank you.
What Not to Do
Here are the biggest mistakes people make:
- Starting with cosmetic changes like painting or new furniture
- Ignoring structural issues because they’re hidden
- Doing electrical or plumbing last
- Installing flooring before fixing the subfloor
- Buying expensive finishes before knowing the layout
Each of these leads to delays, extra costs, and stress. Stick to the sequence: outside first, structure second, systems third, then finishes. It’s not glamorous, but it works.
Timeline Expectations
Most full renovations take 4 to 8 months, depending on size and complexity. A small kitchen and one bathroom might take 3 months. A full house overhaul with structural changes could take 6-8 months. Plan for delays. Weather, supply chain issues, and permit approvals can push things back. In Auckland, council approvals for major renovations can take 6-10 weeks.
Break your project into phases. Don’t try to do everything at once. Live in one part of the house while you renovate another. Set a budget for each phase and stick to it. Unexpected costs will come up-but if you’ve planned the order right, you’ll be ready for them.
Should I renovate my house in stages or all at once?
It depends on your budget and how much disruption you can handle. Staging is better for most people. Do the structural and system work first, then move on to one room at a time. This lets you live in the house while work happens. Doing everything at once is faster but more expensive and stressful. Most families in Auckland choose phased renovations to avoid being homeless for months.
Can I skip the structural inspection if my house looks fine?
No. Many structural problems are hidden. A small crack in the foundation might look harmless, but it could mean shifting soil or poor footings. In Auckland, houses built before 1990 often need seismic upgrades. A $500 inspection can save you $20,000 in repairs later. Never skip this step.
What’s the most expensive part of a renovation?
It’s not the fancy tiles or cabinets-it’s the hidden work. Plumbing, electrical, insulation, and structural repairs make up 60-70% of most renovation budgets. People often budget for aesthetics and run out of money before fixing the basics. Always prioritize function over looks.
Do I need a building consent for every renovation?
Not every change, but most structural, plumbing, or electrical work does. In New Zealand, any work that affects the building’s structure, safety, or services requires consent. This includes removing walls, adding bathrooms, or upgrading wiring. Skipping consent can make it hard to sell your house later and void your insurance. Always check with your local council before you start.
How do I avoid going over budget?
Set a realistic budget, then add 15-20% for surprises. Track every expense. Don’t upgrade materials until the core work is done. Get three quotes for major trades. And never pay the full amount upfront. Pay in stages tied to milestones. In Auckland, many homeowners regret not budgeting for temporary accommodation during major renovations.
