Best House Extensions: A Guide to Choosing the Right Type for Your Home
House Extension Estimator & Selector
Project Details
Estimated Total Cost
NZD EstimateIncludes standard contingency buffer.
Why this fits your goal:
...
You stare at your floor plan. The kids are outgrowing their rooms, or maybe you just need a quiet corner for work that isn't the kitchen table. You love where you live but hate the layout. Moving feels like a nightmare of stress and fees, so you think about building out instead. But then comes the paralysis. Do you build up? Build back? Wrap around? Each option changes how light hits your living room, how much it costs, and whether your neighbors will actually tolerate the noise.
Choosing the right house extension isn't just about square footage. It’s about solving a specific problem without ruining the character of your existing structure. In Auckland, where space is tight and consent rules can be tricky, picking the wrong type can cost you thousands in delays or leave you with a dark, awkward room. Let’s break down the main types, what they’re good for, and where they usually go wrong.
Rear Extensions: The Classic Choice
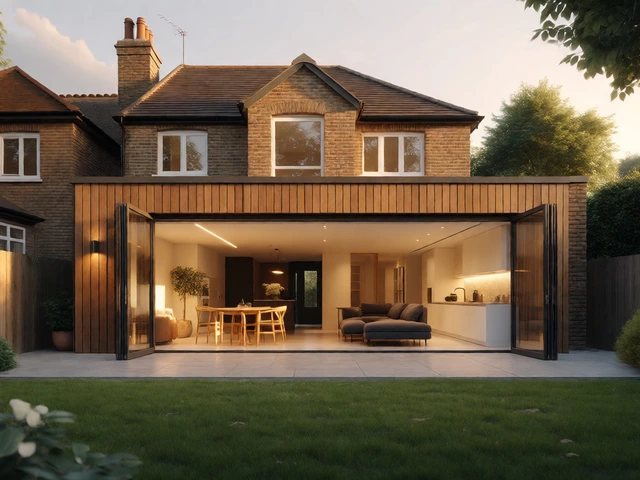
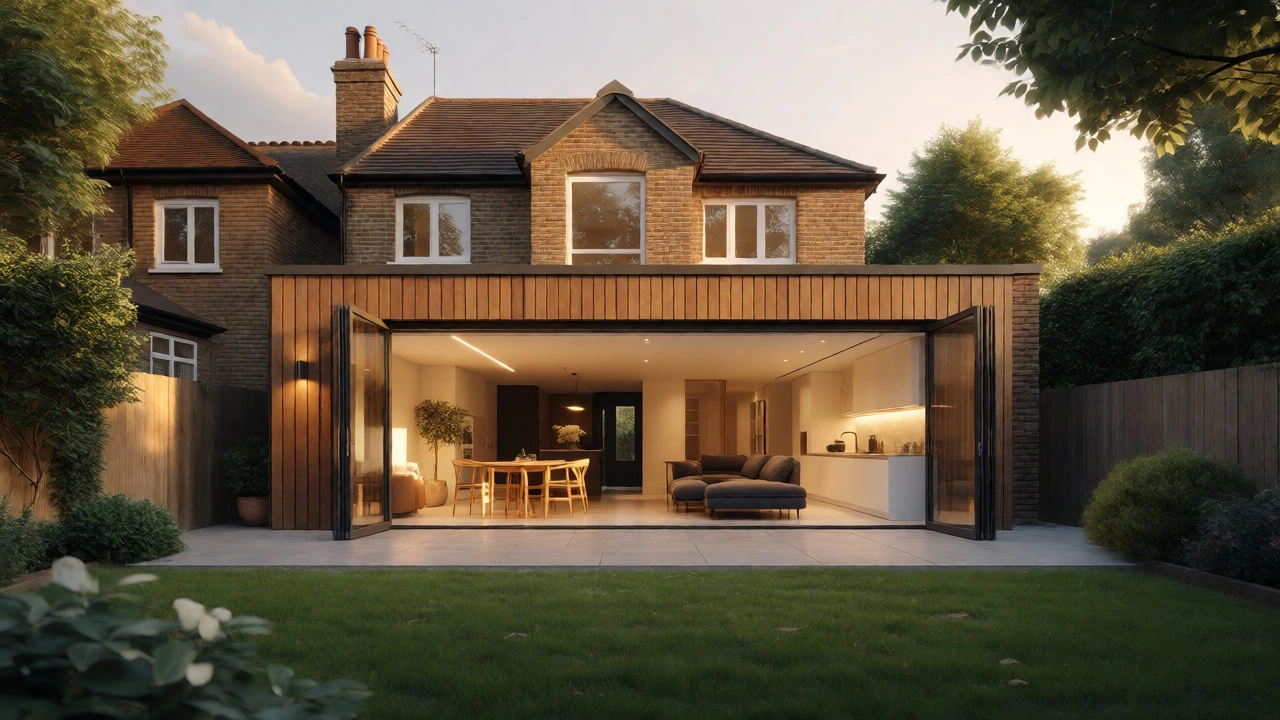
If you want more open-plan living space, a rear extension is often the first thing people consider. This involves pushing the back wall of your house outward into the garden. It’s popular because it directly connects your indoor living area to the outdoors, which is huge here in NZ if you have a decent deck or patio.
Rear Extension is a building addition attached to the back of an existing dwelling, typically used to expand kitchen, dining, or living areas. Unlike other types, it doesn’t necessarily change the street-facing facade, keeping the original look intact while transforming the internal flow.
The big win here is light. By removing the old back wall and installing large sliding doors or bi-folds, you flood the interior with natural light. However, there’s a catch. If you extend too far, you might lose all your lawn. Many homeowners underestimate how much outdoor space they’ll sacrifice. Before you sign off on plans, tape out the footprint on your grass. Stand in it. Does it feel cramped? If yes, scale back by a meter. That one meter often saves the usability of the entire backyard.
- Best for: Open-plan kitchens, family lounges, adding a second bathroom near bedrooms.
- Pitfall: Losing private outdoor space; potential overshadowing issues with neighbors.
- Cost Factor: Moderate. Requires new foundations along the perimeter, roof alterations, and weatherproofing connections.
Side Return Extensions: Maximizing Narrow Spaces
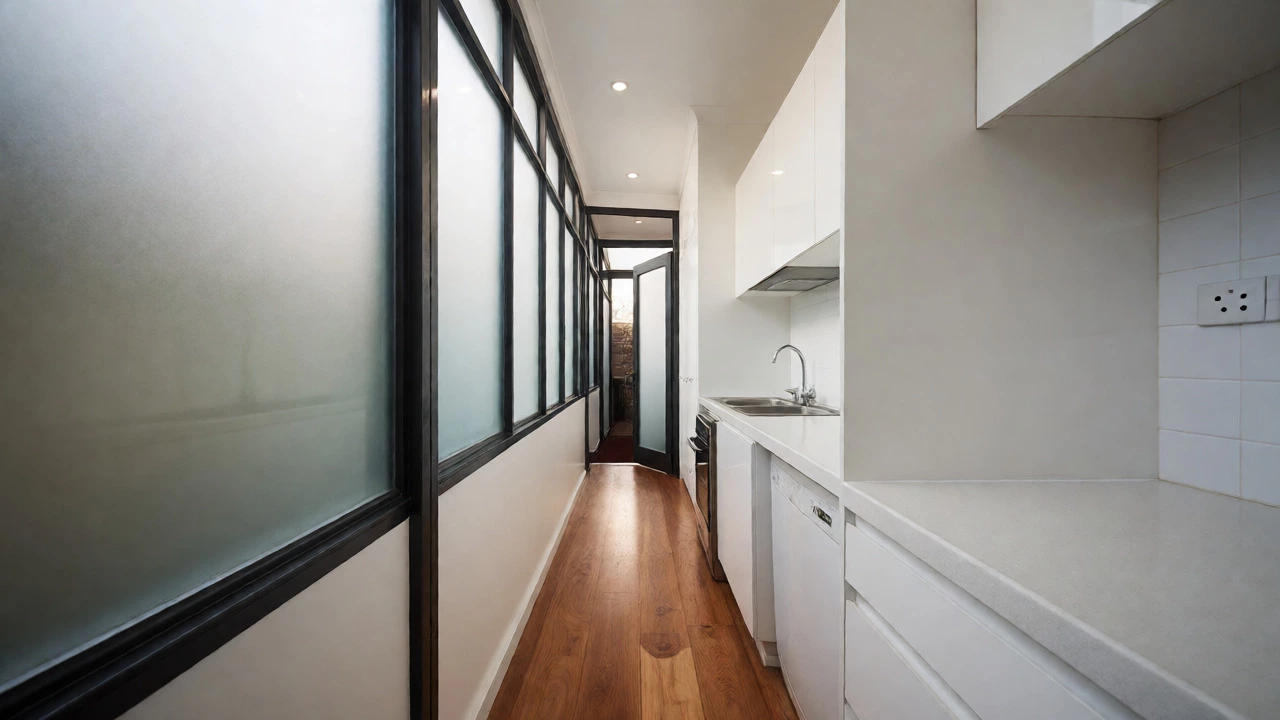
Do you have a narrow alleyway between your house and the boundary fence? That’s prime real estate for a side return extension. This type fills the gap between the main house and the neighbor’s property line. It’s particularly common in older terrace-style homes or bungalows where the original builder left a walkway for coal deliveries or service access.
This approach is brilliant for expanding ground-floor living areas without eating into the rear garden. You can turn a tiny galley kitchen into a spacious cooking zone with a breakfast bar. Or, you could add a utility room, freeing up valuable pantry space in the kitchen itself.
One major consideration is privacy. Since you’re building close to the boundary, you’ll likely face windows from your neighbor’s house. You’ll need high-quality glazing, perhaps frosted glass at eye level, or strategic landscaping to block sightlines. Also, check local council rules on "boundary encroachment." In many Auckland zones, you can build closer than usual if you meet certain height and design criteria, but you still need resource consent if you breach specific setbacks.
Loft Conversions: Building Up Instead of Out
If your plot is small and you don’t want to lose any garden, go vertical. A loft conversion turns unused attic space into habitable rooms. This is technically not always classified as a standard "extension" in some zoning codes, but functionally, it adds significant living area.
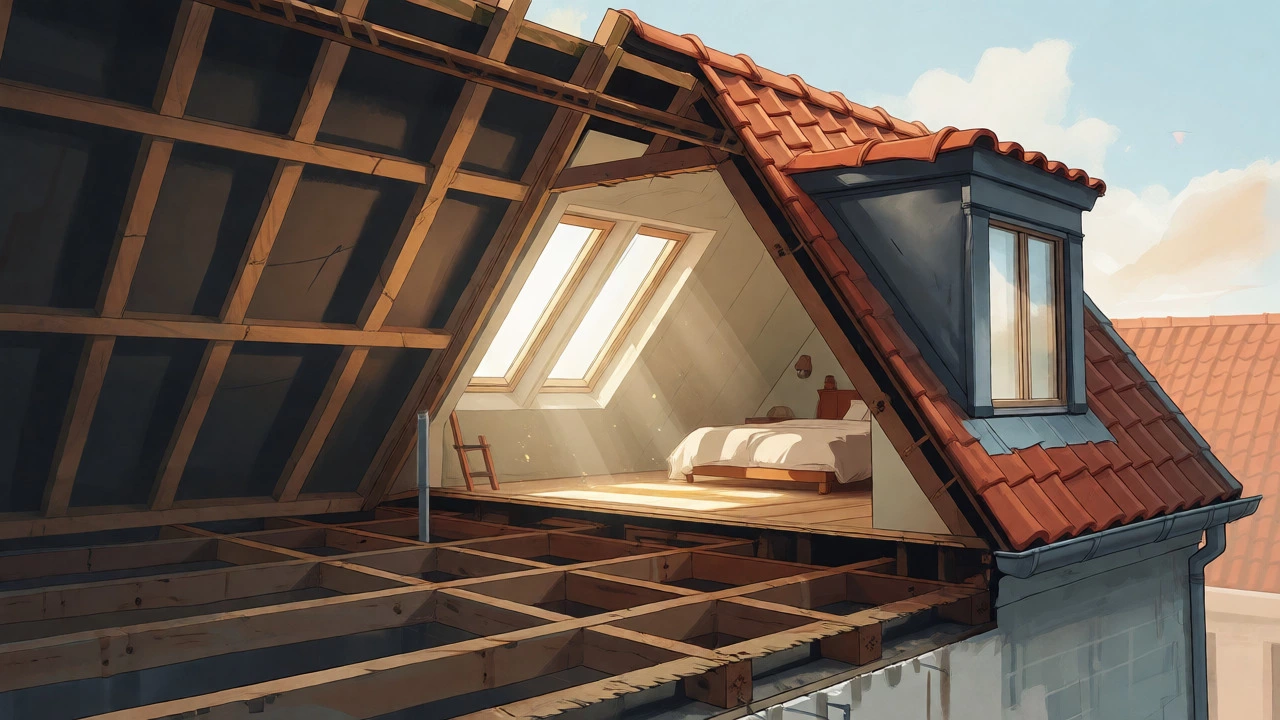
Loft Conversion is the process of converting an unused roof space into a usable living area, such as a bedroom, office, or playroom. It requires structural reinforcement of the floor joists and often new dormer windows to provide headroom and light.
There are two main styles: Velux conversions (roof lights only) and Dormer conversions (extending the roof slope). Velux is cheaper and less disruptive but offers limited headroom. Dormers create proper walls and windows, making the space feel like a normal room rather than a closet under a slanted ceiling.
| Feature | Rear Extension | Loft Conversion |
|---|---|---|
| Impact on Garden | Reduces outdoor space | No impact |
| Light Quality | High (if designed well) | Moderate (depends on window placement) |
| Structural Work | New foundations, roof tie-ins | Floor reinforcement, roof cutting |
| Disruption | Ground-level noise/dust | Overhead noise, ladder access |
Be warned: insulation is critical. Attics get freezing cold in winter and boiling hot in summer. Skimping on thermal wrap here will make the room unusable for half the year. Also, ensure you have enough headroom (minimum 2.4 meters over at least half the floor area) before committing. Measure twice.
Wrap-Around Extensions: The Big Leap
A wrap-around extension combines elements of rear and side returns. It wraps around the corner of the house, effectively creating an L-shape or U-shape addition. This is the most expensive option but also the most transformative. It allows for massive open-plan spaces that connect multiple sides of the home.
This type is ideal if you want to completely reconfigure the ground floor. For example, you could move the kitchen to the side, expand the lounge to the back, and create a central hallway. It creates a seamless flow that smaller extensions can’t match.
However, the complexity skyrockets. You’re dealing with two sets of external walls, more roofing junctions, and potentially more complex drainage. Water tightness is the biggest risk. Every joint where new meets old is a potential leak point. Ensure your builder specializes in complex joinery and waterproofing membranes. Don’t let a handyman handle this alone.
Garage Conversions: The Hidden Gem
Many homes have garages that serve as dumping grounds for bikes and boxes. Converting this space into a granny flat, teen retreat, or home office is surprisingly cost-effective. The shell already exists-walls, roof, floor slab. You mostly need to upgrade insulation, add plumbing if necessary, and improve lighting.
This works best if you don’t need parking space. In Auckland, losing off-street parking can affect resale value, especially in inner suburbs where street parking is scarce. Check if your council requires replacement parking. If you can park on the driveway comfortably, a garage conversion is a low-hassle win.
Key Decision Factors: What Should Drive Your Choice?
Don’t pick a style just because it looks cool on Pinterest. Start with your primary goal.
- What is the missing piece? If you lack bedroom count, look at lofts. If you lack social space, look at rear or wrap-arounds. If you need privacy/work focus, consider side returns or garage conversions.
- Budget Reality: Rear extensions are mid-range. Lofts are variable (cheap if simple, expensive if complex). Wrap-arounds are premium. Garage conversions are budget-friendly.
- Consent Requirements: Permitted development rights vary. In NZ, single-story extensions under certain dimensions may not need full resource consent, but building consent is almost always required. Talk to a planner early.
- Future Proofing: Will this addition help when you sell? Open-plan living sells well. Extra bedrooms sell well. Dark, poorly insulated attics do not.
Also, think about construction logistics. Can trucks get materials to the site? Is there crane access for roof trusses? These practicalities often dictate feasibility more than aesthetics.
Common Mistakes to Avoid
First, ignoring daylight. New builds must comply with shading standards. If your extension blocks sunlight from hitting your neighbor’s living room windows, you’ll face objections. Use 3D modeling software to simulate sun paths. Second, poor integration. A modern box stuck onto a Victorian villa can look jarring unless done intentionally. Match materials carefully-brick, cladding, roof pitch-to blend or contrast deliberately.
Third, forgetting ventilation. Tighter buildings trap moisture. Install mechanical ventilation with heat recovery (MVHR) if you’re sealing up tightly, especially in bathrooms and kitchens added via extension.
How much does a typical house extension cost in New Zealand?
Costs vary widely based on finish quality and site access. As of 2026, expect to pay between $2,500 and $4,500 per square meter for a standard quality extension. Complex wrap-arounds or high-spec finishes can exceed $5,000 per square meter. Always add a 15-20% contingency buffer for unexpected structural issues.
Do I need planning permission for a rear extension?
In New Zealand, you generally need Building Consent for any structural extension. Resource Consent may also be required if the extension breaches district plan rules regarding height, coverage, or shadowing of neighboring properties. Some minor additions fall under permitted activity, but verify with your local council before starting.
Which extension type adds the most value?
Generally, adding functional living space that improves flow adds the most value. A well-executed rear extension creating an open-plan kitchen/living area often yields the highest ROI. Additional bedrooms via loft conversions also boost value significantly, provided they have adequate headroom and natural light.
Can I live in my house during the extension project?
Yes, for most single-story extensions like rear or side returns. Dust and noise are inevitable, so seal off the construction zone with plastic sheeting. For loft conversions or major wrap-arounds involving roof removal, temporary relocation might be more comfortable due to overhead work and water exposure risks.
What is the biggest risk with DIY extensions?
Waterproofing and structural integrity. Improper flashing details where the new roof meets the old one cause leaks years later. Also, failing to properly engineer footings for different soil types can lead to settlement cracks. Professional oversight is crucial for these critical interfaces.