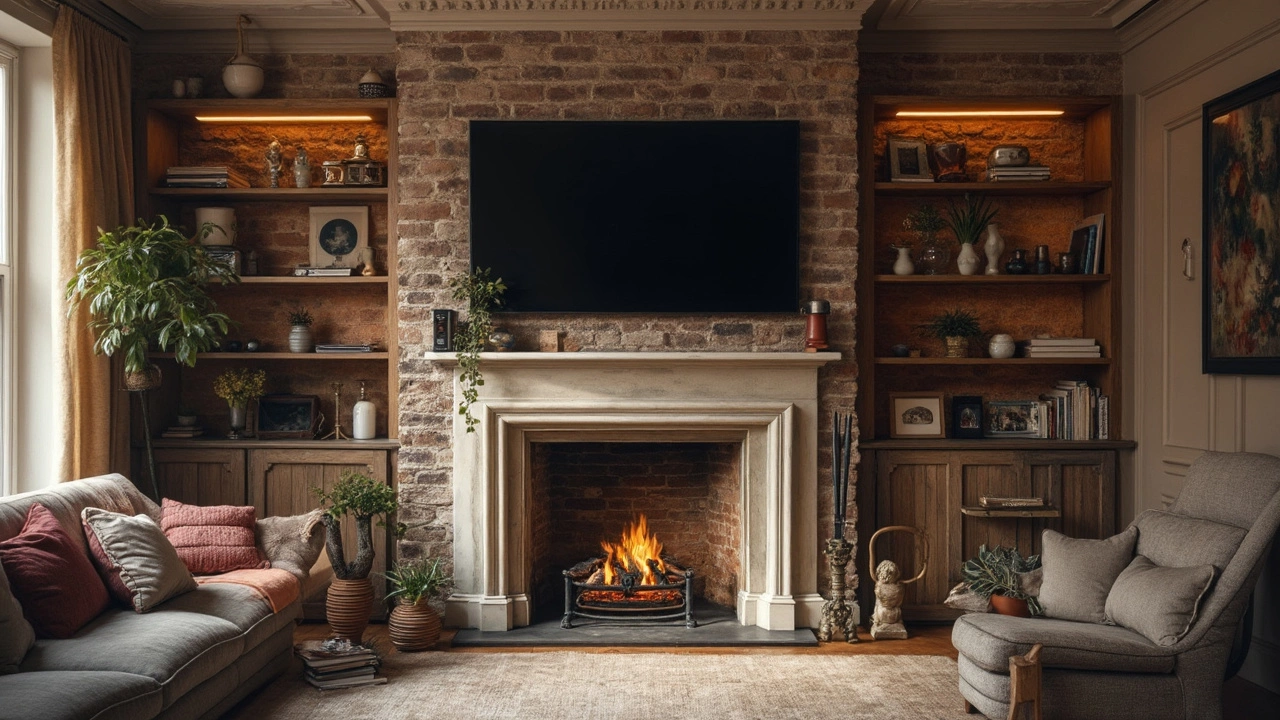
Having a TV without a stand can be frustrating, but there are plenty of alternatives to keep your screen upright and secure. Whether it's wall mounting, DIY solutions, or re-purposing existing furniture, the options are diverse. Learn how to make the most out of your setup without the typical stand. This guide covers creative and practical methods to ensure your TV is safely displayed.
Wall Mounting Made Simple: Tips You Can Use Right Now
Wall mounting looks sleek, saves floor space and can make a room feel bigger. Whether it’s a TV, a floating shelf or a piece of artwork, the basics stay the same: pick the right spot, use proper hardware, and keep safety first.
What You Need Before You Start
First, gather a few tools. A drill with the correct bit, a stud finder, a level, a screwdriver, and a measuring tape cover most jobs. If you’re hanging a heavy item, grab wall anchors that match the wall type – plaster, brick or concrete each need a different anchor.
Next, locate the studs. A stud finder makes this quick, but you can also tap the wall and listen for a solid sound. Mark the center of each stud with a pencil; these are the strongest points for screws.
Step‑by‑Step Wall Mounting Process
1. Measure and Mark. Use the level to draw a straight line where the top of your item will sit. Measure twice, drill once.
2. Pre‑drill Holes. Choose a drill bit that matches the screw size. Drill into the stud or anchor spot, keeping the bit straight.
3. Attach the Bracket. Screw the bracket into the holes. Tighten just enough so it’s secure but not stripped.
4. Hang the Item. With a friend’s help, lift the item onto the bracket. Make sure it sits flush and level.
5. Double‑Check Stability. Gently wiggle the item; it should feel solid. If there’s any movement, tighten the screws or add extra anchors.
For TVs, most manufacturers include a wall‑mount kit with specific screw sizes (usually M4 or M6). Follow the manual for the exact depth and spacing. If the TV is large, consider using two brackets to spread the load.
Floating shelves need to be level across their full length. After installing the brackets, place a piece of wood or a level on the shelf to make sure it doesn’t tilt.
Artwork can go on nails for light pieces, but for heavier frames use the same stud‑and‑anchor method. A small picture hook isn’t enough for anything over a few pounds.
When you finish, hide any visible screws with caps or a bit of paint that matches the wall. This keeps the look clean and professional.
Common mistakes to avoid: drilling at an angle, using the wrong anchor size, and ignoring the weight limit of the hardware. If you’re unsure about the wall type, test a small hole first – it’ll tell you if you hit a stud or just plaster.
And remember, safety matters. Wear eye protection, keep the work area clear, and never stand on a chair to reach high spots. If the job feels beyond your comfort level, hiring a professional can save time and prevent damage.
With these steps, you can turn any wall into a sturdy, attractive display. Grab your tools, measure twice, and start mounting – the results will speak for themselves.
