Cement for Foundation: Choose the Right Mix and Avoid Costly Mistakes
If you’re building a new home or adding an extension, the foundation is the part you can’t afford to get wrong. The right cement mix keeps the structure stable, stops settlement, and saves you from expensive repairs later. Below you’ll find the basics of cement for foundations, the mix ratios you should use, and the top mistakes to avoid.
Why Cement Choice Matters
Not all cement is created equal. For foundations you need a blend that offers high compressive strength, low shrinkage, and good durability against moisture. Ordinary Portland Cement (OPC) works for most residential builds, but if you’re in a coastal area or have high water tables, a sulphate‑resistant cement (SRC) will protect the base from chemical attack.
Think of cement as the glue that holds the concrete together. If the glue is weak, the whole wall can crack, settle, or even shift over time. That’s why builders often match the cement grade to the expected load: a C30/37 grade is common for single‑storey homes, while larger structures may need C40/50.
Mix Ratios Made Simple
Mixing your own concrete is easy once you know the numbers. A popular ratio for foundation slabs is 1 part cement, 2 parts sand, and 4 parts gravel, plus enough water to get a workable consistency. This 1:2:4 mix gives a compressive strength of about 25 MPa, which is more than enough for typical house foundations.
If you need higher strength, switch to a 1:1.5:3 ratio and use a high‑early‑strength cement. Remember: more water makes the mix easier to work with, but it also reduces strength. Aim for a water‑to‑cement ratio around 0.45 – any higher and you’ll weaken the slab.
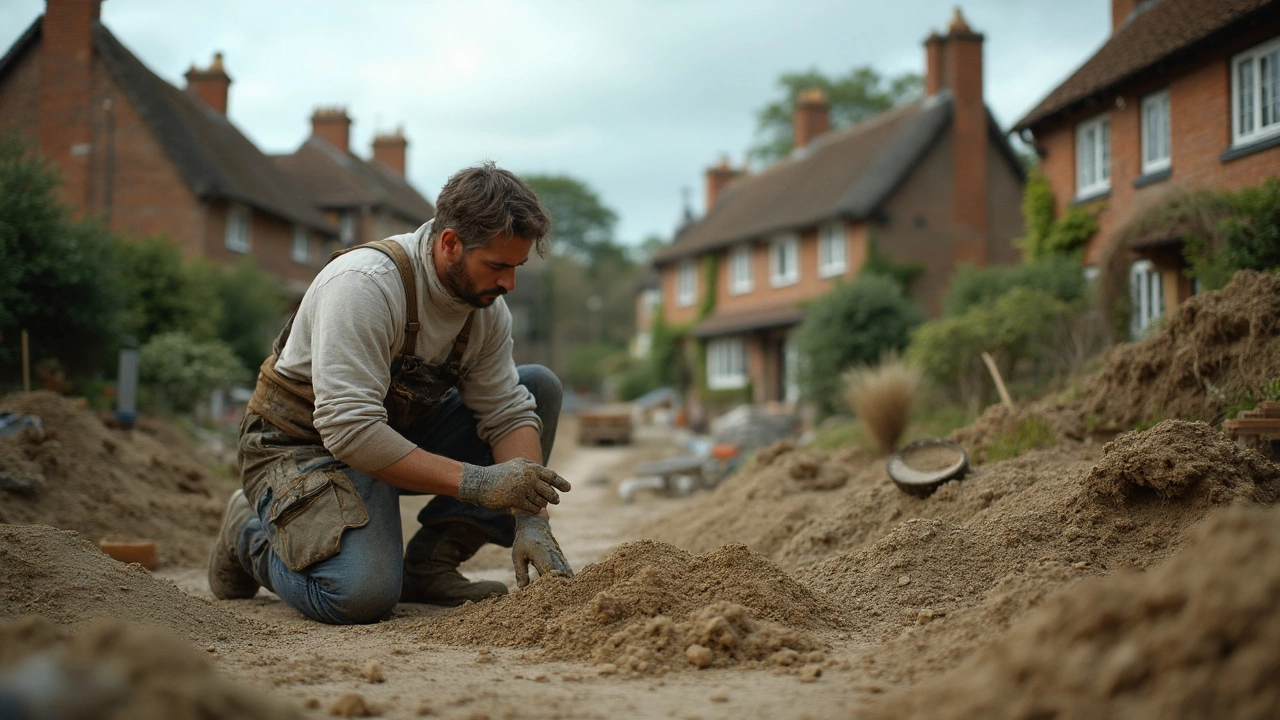
Before you pour, dampen the sub‑grade lightly. This prevents the dry base from sucking water out of the mix too quickly, which can cause surface cracks. Then, lay a layer of well‑compacted hardcore (usually 150 mm thick) and place a damp proof membrane to keep moisture away from the concrete.
Practical Tips for a Trouble‑Free Pour
1. **Check the weather** – Avoid pouring on a rainy day or when a hard freeze is expected. Extreme temperatures can affect curing.
2. **Use a vibrator** – A concrete vibrator removes air bubbles and ensures the mix fills every corner of the formwork.
3. **Cure properly** – Cover the slab with plastic sheeting or keep it moist for at least 7 days. Proper curing boosts strength and reduces shrinkage.
4. **Inspect for settlement** – After the slab cures, look for signs of movement. Small cracks are normal, but large gaps may indicate a settlement issue that could affect the whole building.
If you notice unexpected settlement, it could be a sign of inadequate compaction or a poor‑grade sub‑soil. In such cases, consult a structural engineer before proceeding with walls or floors.
Linking Cement Choice to Insurance and Repairs
Many homeowners are surprised to learn that building insurance often excludes foundation problems caused by poor cement or mix errors. Knowing the right cement type and following proper pour procedures can keep your claim valid if a leak or crack appears later.
Should major foundation repair become necessary, the cost can skyrocket – sometimes reaching tens of thousands of pounds. Using the correct cement from the start reduces the risk of such costly repairs and helps you avoid disputes with insurers.In short, pick the right cement grade for your site, stick to proven mix ratios, and follow good curing practices. A solid foundation saves you time, money, and headaches down the road.